Bagalope |
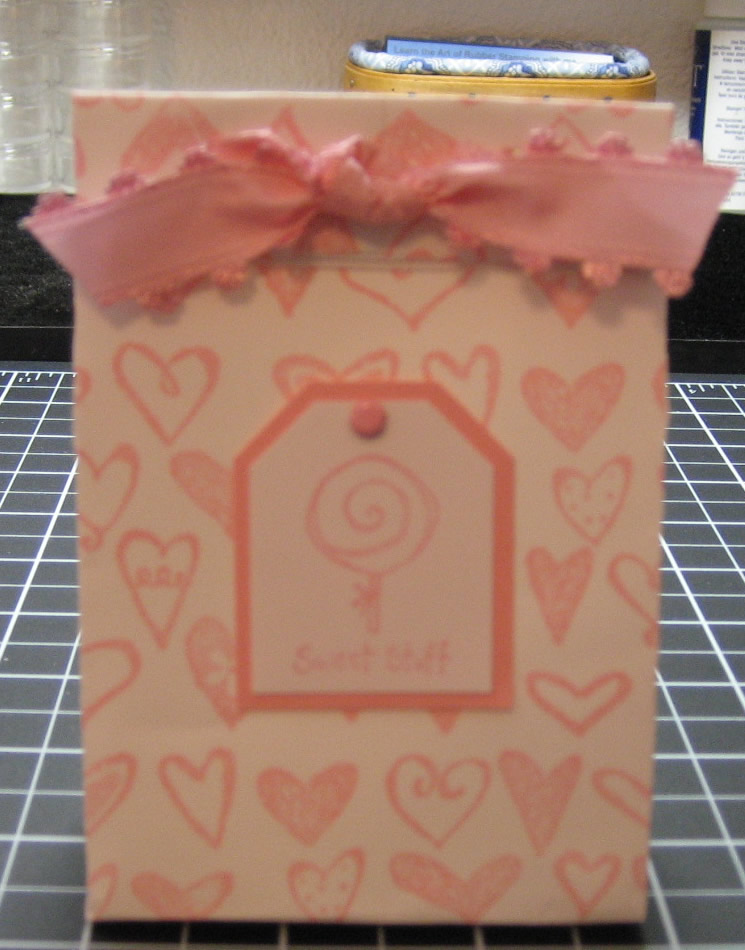
A Bagalope is little bag (grocery bag shape) made from an envelope. If you use a regular business size (#10) envelope, you can seal it, cut it in half and have two pockets to stamp and then expand into little bags. My sample was made with one 4-3/8 by 5-3/4 inch envelope.
1. Seal your envelope, decorate both sides (this will be the background pattern of your bag), then cut off the top edge. If using a #10 envelope, cut in half for two pockets.
TIP: decorative shears such as deckle or scallop, leave a fancy edge.
2. On each side of the envelope, except the side that is cut open, make a score mark 1/2" to 3/4" toward the center. It is important to score the same distance on each side. These folds will work best if you fold them both forward and back for a strong crease.
3. Next, lay the envelope out flat and add decoration to the center area as desired. Remember, the open end is the top. Also, anything past a fold line will end up on bottom or a side, so just ignore those parts if you want.
4. Now, put the fingers of one hand into the open part of the envelope to expand it. With the other hand, push the bottom of the envelope UP toward the inside until it hits the crease lines you made. This will end up being the flat part of the bottom of your little bag. As you flatten out the bottom, the side creases you made on the envelope allow it to open up.
5. You should end up with a triangle shaped thing sticking out on each bottom corner of the bag. Just fold those under the bag and you can glue or tape them in place.
Close-up of folded bag bottom:
6. Fold the side creases back in towards the inside of the bag, like the sides of a grocery bag or gift bag, and that's it! I have folded down the top, punched holes and tied ribbon to close mine.
SOME CREATIVE NOTES:
-Roller wheel stamps are so easy and cute to use for your background.
-You can add tiny handles by using a hole punch and thin ribbon.
-You can put treats in them alone, or with tissue paper showing out the top.
-These make cute place settings at birthdays, holidays, or other special occasions.
Happy Stampin'!
All stamped images © Stampin' Up!